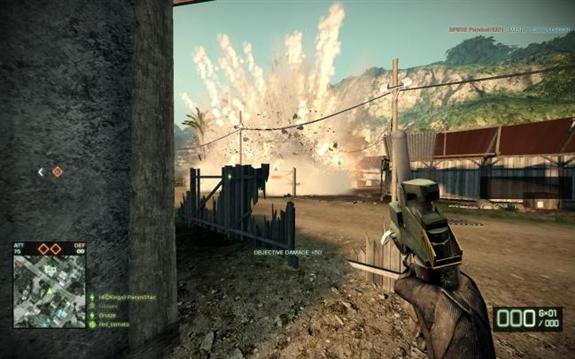
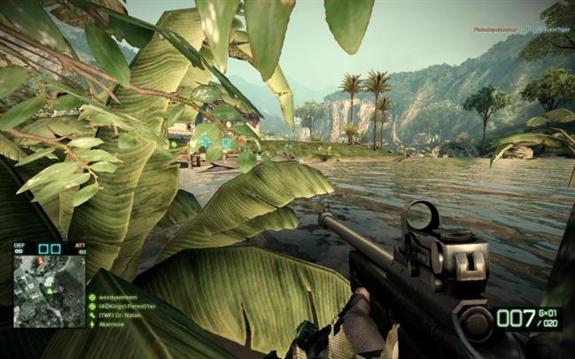
Watching something explode in a loud and brilliant fashion often brings an overwhelming feeling of excitement and awe, and with C4 you can make a lot of things go "BOOM". C4 is primarily composed of 90% RDX explosive and various plasticizers to create a stable high explosive that can be molded, crammed, or stuck in just about anything that needs blasting. In game, C4 is available to the Recon class by default and the Assault class when using an all-kit weapon such as the G3 or SPAS-12, and it can be used in a variety of ways thanks to its ability to be stuck to any surface it's thrown upon. These include ambushing, intercepting, trapping, car bombing, and demolition.
The Basics
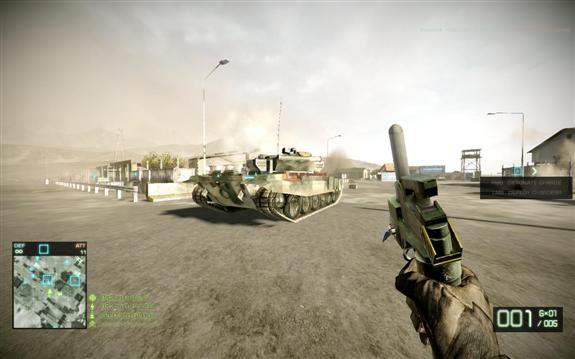
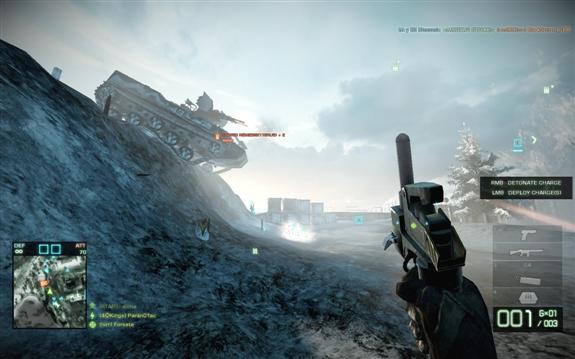
C4 does a whopping 865 damage against vehicles per pack, which is about 70% of a tanks total health. That ties with an AT mine, in terms of damage, and is more than double that of the AT4 rocket launcher. Regardless of ExpMk2 or improved vehicle armor package, it requires two C4 to kill a heavy vehicle, like an Abrams tank or APC, and one for light vehicles, helicopters, boats, and emplacements. Killing a vehicle with C4 requires more thought than shooting rockets off or calling in a mortar strike, you have to get quite close to the vehicle to plant C4 on it.
How close?...
...This Close
You do not, however, simply see a tank and run blindly towards it to place C4. Instead, pay attention to both its location and your surroundings. Once you find the tank, you need to think about the answers to the posing obstacles:
Where is it looking?
What is it doing?
Am I exposed?
Is the tank sitting still or in motion?
If it's moving where is it likely going?
Did I eat lunch today?
Is it a leap year?
All of these are important. Also, do remember to always, always spot the tank! Just Press Q or the Select Button
Apart from letting your whole team know the location of the tank, spotting it allows you to see the current health and occupancy of any vehicle. This informs you of the location of the tank when you don't physically have eyes on it, whether you might only need one C4 plant to kill it, and ,most importantly, whether you need to watch out for turret gunners. The tanks line of sight is the crucial factor that guarantees success in an attack; it cannot know your there.
The Hunter
The stealth plant is the best, most prevalent, and often poorly executed method for dealing with stationary tanks. Be patient, stalk your prey, stay behind good cover where the tank cannot see you and wait until he and any gunners are looking in the other direction. The best opportunity is when they are both looking and shooting at other people, tanks, or other such distractions. This way you minimize the risk of them seeing your approach in 3rd person view or on their map in case of electronic warfare package.
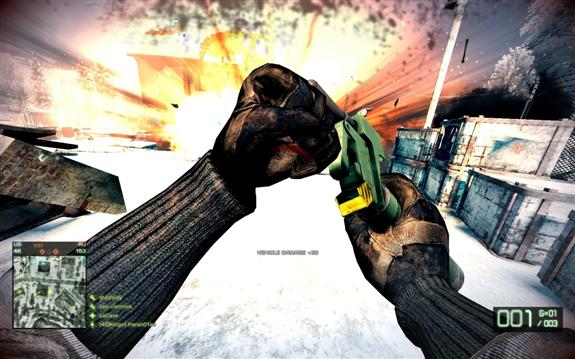
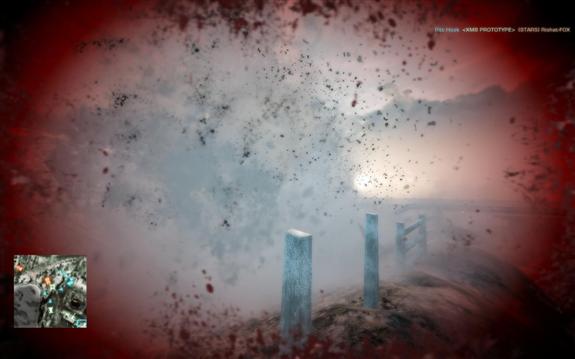
The safest place to lay C4 is on the side of that tank so that you do not risk being potential road kill in case they move. There is a slight delay between pressing the trigger and the detonation, and make sure you're at least 5m away to avoid being caught in the blast.
When possible, try doing these a bit indirectly to further avoid detection, throw C4 from an elevated position like a rooftop, through a window, or over a wall.
Throwing C4 farther!
C4 can be thrown quite far by initiating the throw THEN jumping. There is a slight delay between clicking and actually throwing the C4 pack, so if you were to jump then throw you'd land back on the ground before the toss. It's perfected with practice, so give it a try next time!
The Guerrilla
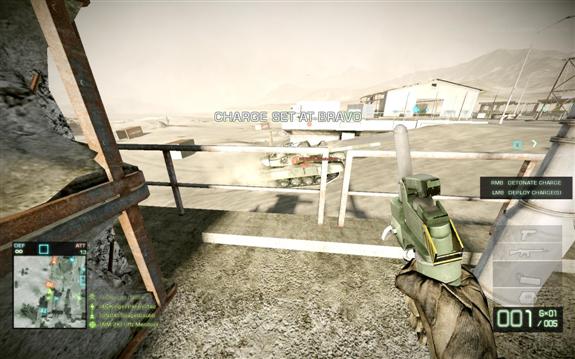
Against a moving tank, your goal is to intercept and ambush it. Intercepting tanks requires good timing and a good understanding of the map. Interceptions are best done when the tanks expected path is almost certain; for example the tank following a road to the next flag. Wait closely in cover and around a corner from the tanks predicted path. Listen to the sound of the approaching tank; quickly toss two C4 along the side as it moves past you the instant it's about to round the corner. Once done, run in the opposite direction of the vehicles movement to quickly escape suicide blast range and detonate.
Timing is everything,you need to take into account the throw time of C4, you do not want to jump out in front of it to become roadkill, or be too late and miss planting your C4. It's better to wait for that tank to pass and lay C4 directly on to it than to lay the C4 ahead of the tank, and hope it drives over it in a second. They might notice the throw and your cover will be blown, or they might not even go around that corner and you just wasted some of your C4. This method can be done faster than the driver can usually react, resulting in consistent kills where they can't often escape.
The Beep of Fate
C4 makes a distinctive beeping sound when being laid, this can be heard by others as well. Experienced tankers know it's time to bail out when they hear it. You can use this to your advantage in order to effectively hijack the tank from them.
The Trapper
Trapping is when you preemptively lay down some C4 in a strategic area before seeing any enemies. You can lay down up to six C4 packs at a time with the extra explosives specialization, and they do disappear when you die. This is best done in high traffic areas, and objectives that need defending. Some of the best places are:
In the middle of a popular vehicle road,
Around flags to detonate when they're being captured
Popular houses, sniper nests, or near MCOMS to thwart planting/defusing.
Beware the latter option as a Defender, your C4 will damage your own MCOM and nothing is more annoying than seeing a teammate accidentally (or intentionally) destroy their own MCOMs. The downside to this use is that you really have to babysit that area, tying you up in one location instead of letting you move around.
An additional, none too practical but devious trap is to place C4 on a vehicle such as a tank, drive it into enemy territory, then curiously abandon it. When an enemy cautiously approaches to take the tank for himself, as any person in their right mind would, flick the switch and watch his body fly.
M-COMM Stations
C4 is one of the fastest ways to take down an MCOM station. It requires twelve C4 packs to destroy a full health MCOM. You can lay them down as fast as you push the button to a maximum of six that can be deployed in the field at one time. It's much easier for one person to sneak in than a whole squad, so allow one to do so and the others may squad spawn on him, then place their C4, arm the bomb, detonate it and leave before the Defenders know what hit them.
Points Points Points!
Blowing up an MCOM with C4 is not only fast, it's lucrative! You receive an additional +50 points every time you damage the MCOM by a certain amount. Combine this with +50 for arming and +250 for destroying, tack in a couple of kill and you'll be racking up the points in no time.
One person can do this by themselves as an Assault, but with a rather long resupply timer of 6 seconds per pack, you'll probably be killed before you can finish the job. Another clever way to do this is to have one teammate pilot the UAV, or any vehicle really and have a couple teammates lay C4 on that. Since there is no range limit to the C4 remote, the pilot can fly the UAV right to the bomb and tell his partners when to detonate for a quick, easy, and for many, a cheap destroy. Assuming the UAV makes it to the M-COMM station
Which brings as too another loved by some, hated by others use of C4
The Mad Bomber
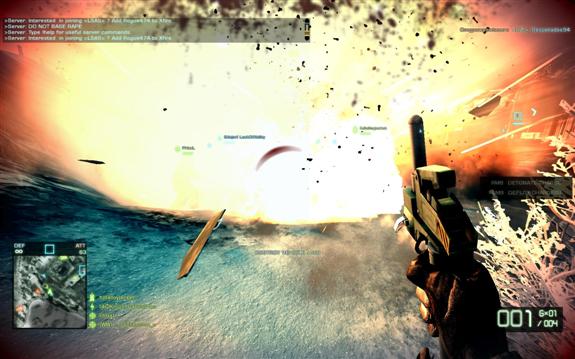
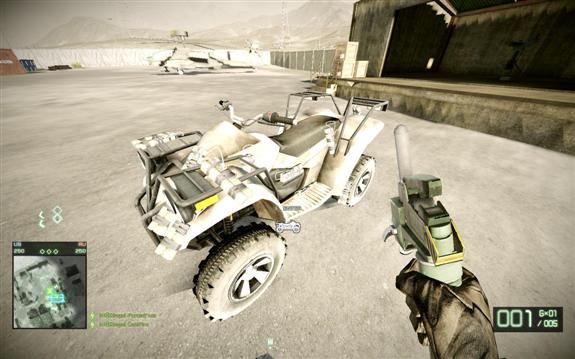
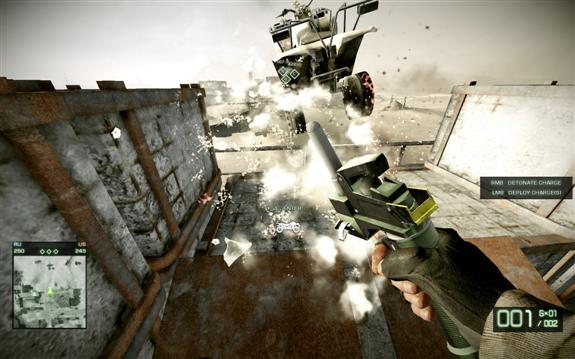
Car bombing, or the Jihad Jeep as it's also known, is just as it sounds, strapping your vehicle with high explosive, riding it into the thick of the action, and letting it rip. Most often performed with light vehicles such as ATVs, it can be done with any vehicle. Maybe your flying the Blackhawk on Valparaiso, consider planting a few C4s in it, and when you get critically damaged drop your passengers, steer your smoking wreck towards the juiciest target in sight, bail at the last second if possible, and enjoy the mayhem.
One pack of C4 does 290 damage to person in a 1 meter radius declining out to 0 damage at 8 meters, giving a single pack a kill radius larger than a hand grenade. You just need to get the vehicle in ballpark. For the classic experience, take an ATV, place some C4 on the nose, and plow head on into a person/tank/objective/ice cream truck, whatever. You can also exploit the lack of friendly fire damage and have a friend drive it for you, telling you when to blow it. They'll emerge unscathed, probably laughing, with a smoldering husk of a tank behind them and you counting the points that are rolling in.
C4 is awesome dangerous, it can be detonated by small arms, so you may go off prematurely. DO NOT TRY THIS AT HOME!
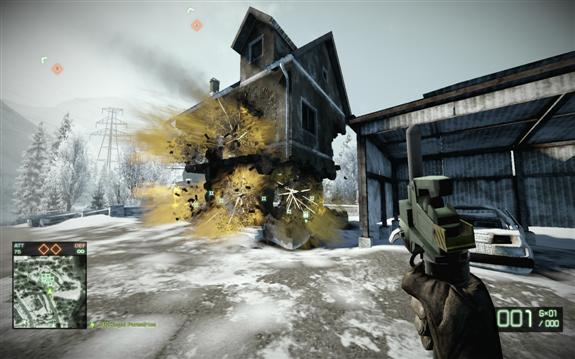
The Demo Man
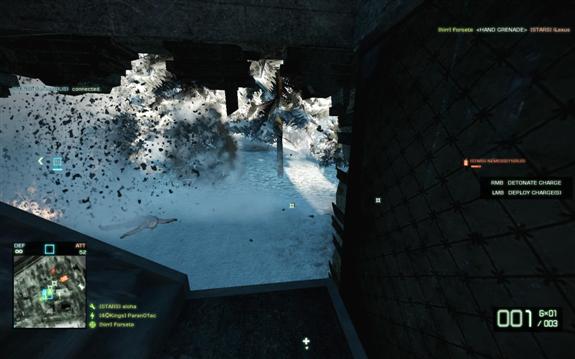
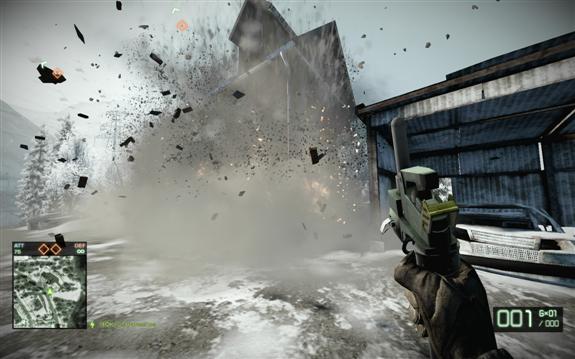
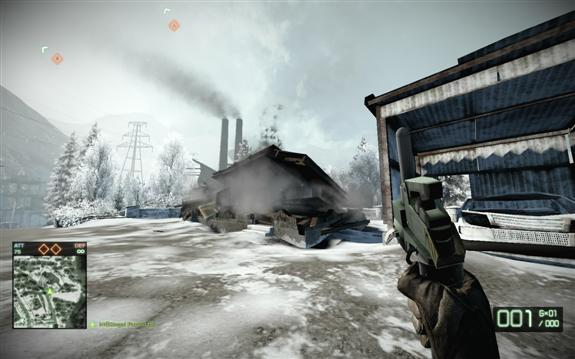
Destructible buildings and terrain is a highlight of the Battlefield: Bad Company series. C4 works great to punch select holes in building walls for better access or vantage points. Thanks to the wonders of Destruction 2.0, we now also have the option to use C4 to bring the whole building down right on top of our enemy's heads. Demolishing a building entirely is great when you need to destroy an MCOM in a jiffy, but you'll miss out on all those lovely objective damage points. Total destruction is also a great way to deny the enemy of any cover in order to make locking an area down much harder for them. Using C4 you can take down a building with a single stroke in just a few seconds.
This is an area where Explosives Mk2 is actually of use, with strategic placement its possible to bring down multiple story buildings with just three C4. The best locations to place C4 are in corners on the floor or ceiling, not on the walls themselves, but close. This way one pack can take out multiple walls.
The Saboteur
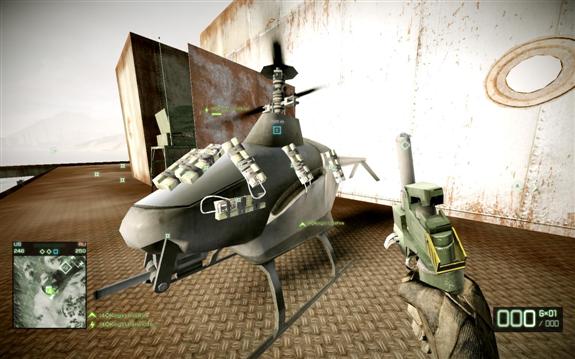
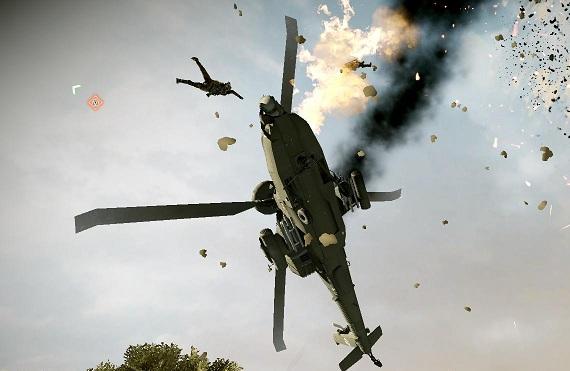
Sabotage is a mixture of trapping and demolitions. It's when you place the C4 on a vehicle/equipment before the enemy ever gets in it. This is generally the only way to deal with helicopters and boats barring something crazy like an off ramp flying ATV bomb to a helicopters face.
The objective is to sneak inside of the enemy base and lay down C4 on as many vehicles and things as you can.
You can either destroy their vehicles outright or just damage them. When you destroy them, they won't spawn again for a minute or so, but it will come back at full health. When you damage a vehicle in its spawn, it stays there, but only at a fraction of its health until it's either repaired or destroyed. You can also stand by and wait until somebody actually gets into the vehicle until you detonate it, for giggles and the awesome yet rare fully loaded Blackhawk kill, but be prepared to run, they'll know you're there now and they'll be pissed.
Conclusion
C4 is definitely one of the most creative little tools of destruction available to you in Battlefield: Bad Company 2. It's no noobtube in the anti-infantry department, but it'll do that job and it's the fastest way to kill a tank short of an anti-tank Mine. In short, bringing C4 along enables you to be quite versatile in your overall battlefield role, be it as Recon or Assault. So if you're sitting at the spawn screen wondering C4 or Mortar, Assault Rifle and Tube or Shotgun and Bomb
"When in doubt C4"- Jamie Hyneman of Mythbusters See you on the Battlefield!