Today, I will show you how powerful a well executed five-Uruk strategy can be against Gondor, on the Fords of Isen map. It is quite easily done, though it does require concentration.
1. Starting build order and pathways
There are two options here: The pit/dual-mill start and the alternative pit/furnace/farm/mill start. The latter is better when your opponent is playing random and you were slow to wall-check. If you start with two mills in this instance, you could hit trouble when Gondor's starting soldiers go top (bottom, when you play on the left spot). Otherwise the first pit/dual-mill start would be preferred; it provides faster Uruks and a stronger economy since one lumber mill gives twice as much income as a furnace, and is even cheaper. Other build orders such as pit/furnace/close mill can work out just as well but are not reliable enough to find a place in this guide.
1.1 The Pit/dual-Mill start
Start with an Uruk Pit in the forward-right corner of your base (or forward-left if you're on the left-hand spot) and produce one Uruk-Hai after the other until the pit reaches rank 2. By this time, you will get 5 extra Uruk-Hai battalions in total.
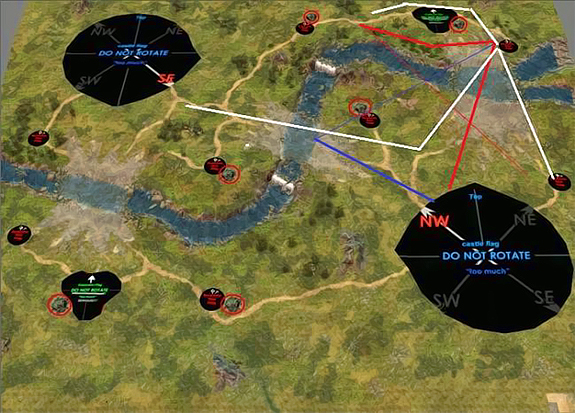
The starting Uruk takes both mills, then goes over the top of the map (bottom, for left-map start) to check for soldiers. Use at least two labourers as scouts: One through the middle of the map towards his base to see when the first knight comes out, another over the top of the map (bottom) to check for any extra soldiers that he may have made from a barracks (rarely seen and easily countered, so long as you spy!). The first pit-gained Uruk goes through the middle.
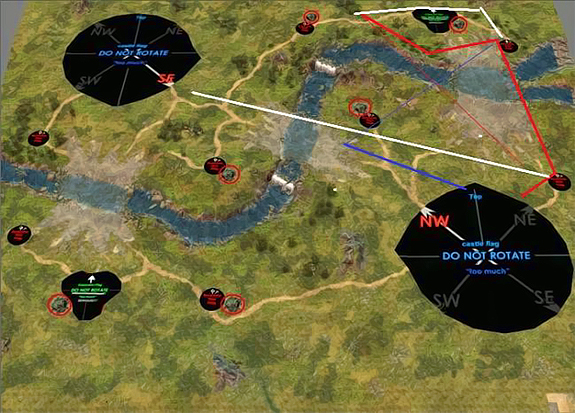 starting uruk-hai
 -
first uruk-hai from pit -
laborers -
tiny lines are optional
1.2 The pit/furnace/far mill start
This is very similar to the double-mill start. Build a pit and a furnace in the base, then send your starting unit to the far farm spot. Purchase an Uruk-Hai from the pit and a lumber mill, as you send out three labourers as shown in the image below.
Wait until you have 200 gold to buy the second Uruk from the pit. In comparison to the first, dual-Mill build, the Uruk spam is delayed due to the starting build-order. Only after this should you construct the lumber mill, close to your base so you have two of them in total. After this, the tactics are exactly the same as with the other start.
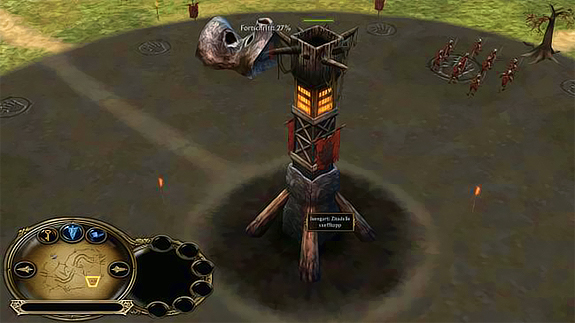
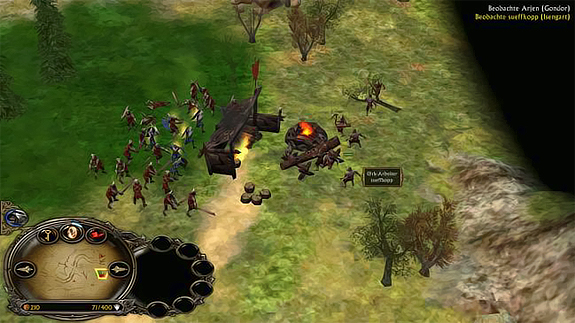
2. Defend the lumber mills against the initial rush by Gondor
Two soldiers are likely to walk to your side, either through the middle fords or over top (bottom). Gondor will place an Elvenwood right next to a lumber mill on your side, negating the effect of a Warchant for any Isengard unit standing on it. It is activated again once they get off it; the missing glowing effect is just a graphical bug.
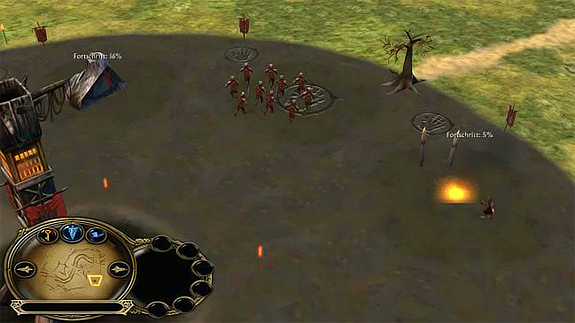
The Uruk battalion that intercepts the soldiers needs to get Warchanted as soon as possible, and must give chase. The only other battalion that is on the field at this moment is required to help defend.
Should the Gondor soldiers attack the mill, try putting Uruks in between his soldiers and the mill, while repairing with labourers. Only workers that are not carrying pieces of wood can repair lumber mills, keep that in mind! Usually you can hold it, but if you see that you won't then delete the mill as early as possible.
Should they fight the Uruks on the Elvenwood, send the second pit-Uruk to face the soldiers as well as required. Micro your units and be sure to retreat battalions with many weak Uruks in them.
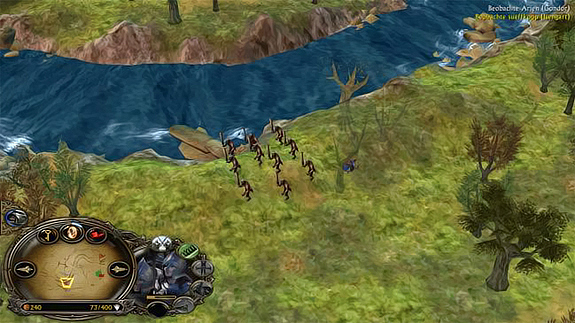
3. Kick both farms before first knight is out
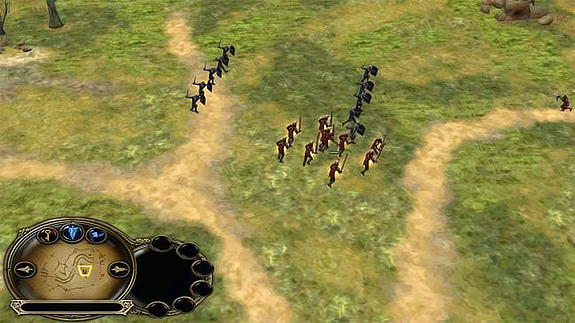
Send the first two Uruks who are not needed straight to your opponent's side: usually, this is the 2nd and the 3rd pit-Uruk. If you meet Pippin, ignore him and go for the farms. He only needs to be attacked before he passes your base; he should not be able to cloak at a lumber mill. Most Gondor players retreat him anyway when they see Uruks running at their farms.
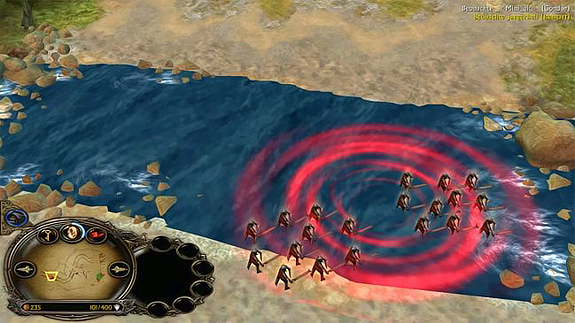
Wait for Warchant to be recharged, then use it on the two Uruks on the far side as soon as possible. Split them up and take both farms down; when Gondor sends his hobbit back to defend then don't worry, an Uruk-Hai battalion with Warchant will destroy the farm regardless.
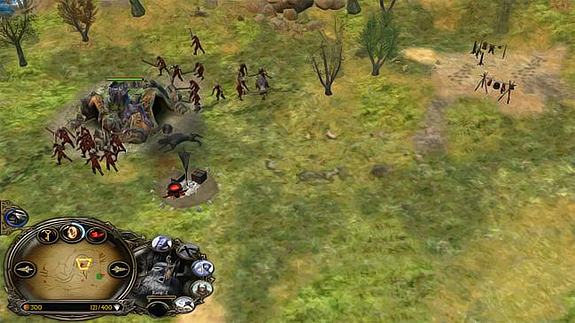
4. Take two creeps with Uruk-Hai
4.1 After your Uruks have defended the mills and the soldiers are dead, send the remaining units on your side to a neutral Warg creep to take it. Allow a pit-Uruk to join them, usually that's the fourth. Simply surround the lair and destroy it, then take the money; the Wargs will be left over but that is no problem at all. In every replay that is attached at the end of this guide, you can see how it is done.
4.2 Use one of the Uruk battalions that killed a farm, together with the fifth pit-Uruk to destroy another lair in the same way.