
My Assistant


Posts: 3,118
Game: 


Posts: 3,118
Game:
 . It is. It creates areas for script events.
 (can u tell I've had too much coffee writing this?)
Posts: 3,118
Game:


Posts: 3,118
Game:
 )
) 
Posts: 3,118
Game:

Posts: 3,118
Game:

Posts: 29
Game: 


This guide is designed to get those who have never used an EA Worldbuilder, up to speed. It will cover all the basic functions, tools, and tips of the CnC3 Worldbuilder.
Contents
Setting Up
The Menu Bar
The Tool Bar
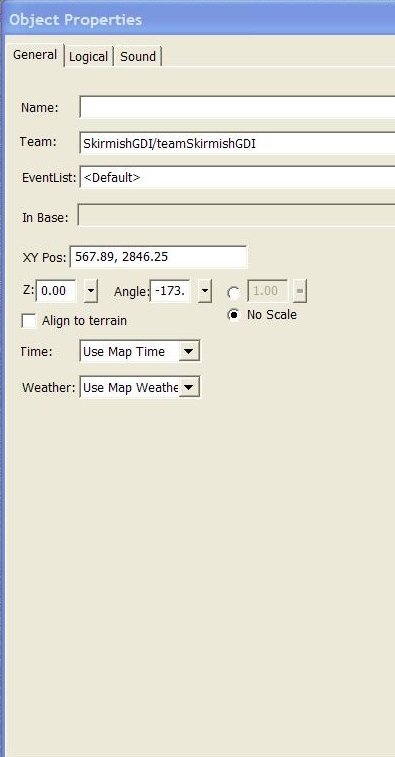
Object Properties
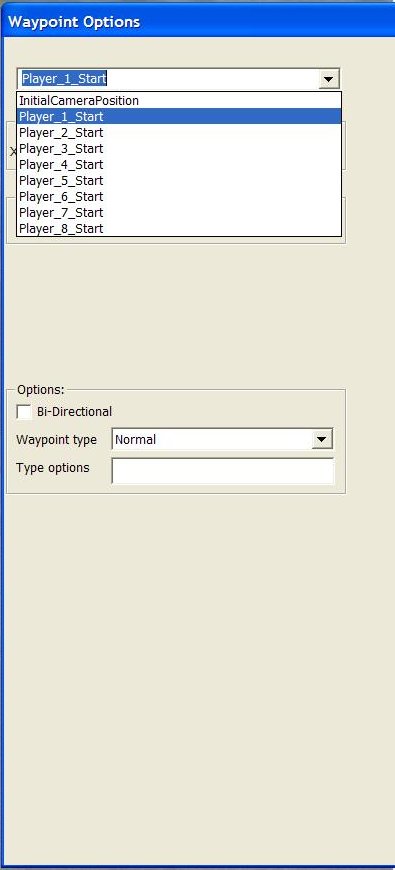
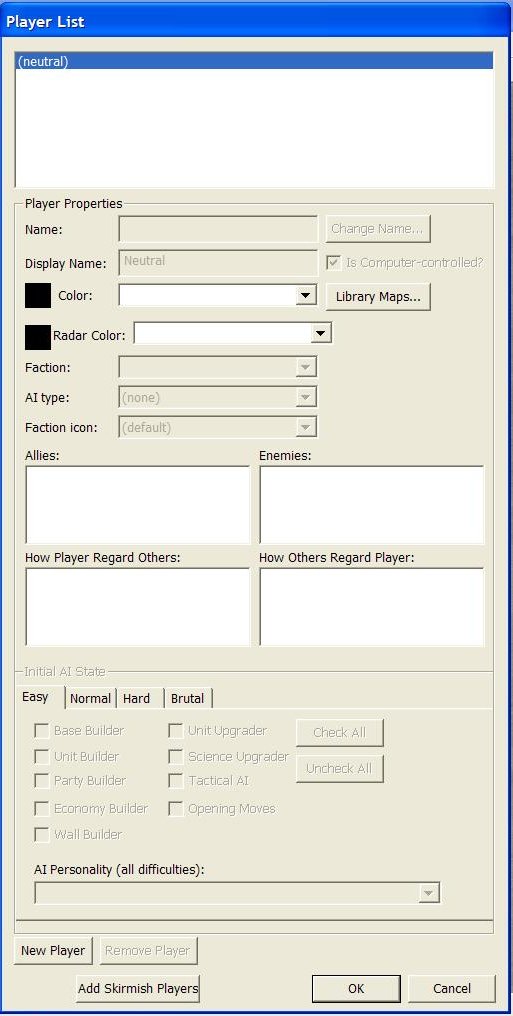
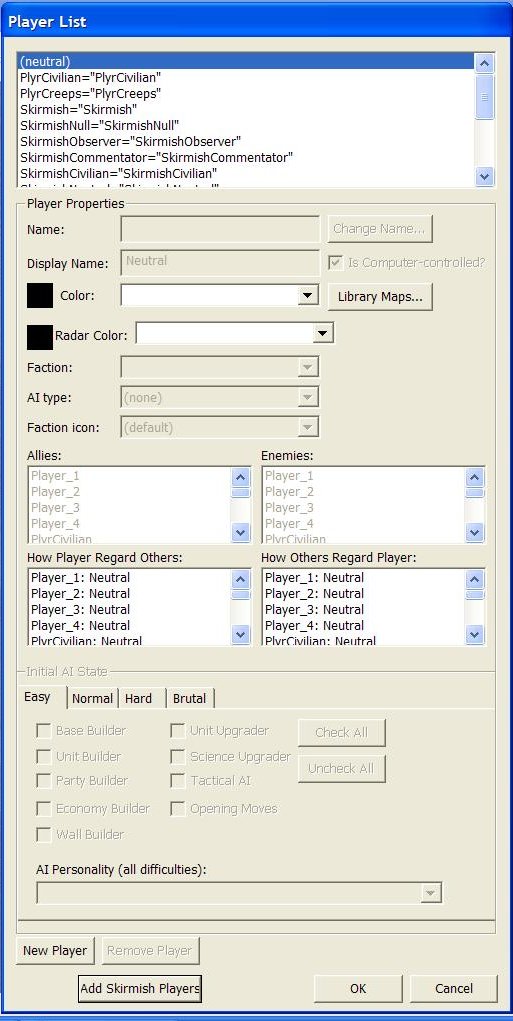
Creating Player Starting Positions and New Players
This post has been edited by Marauder709: Jun 24 2007, 04:20 AM
Posts: 3,118
Game: