During the course of every game, and almost every single RTS for that matter, buildings are the main factor that decides between you losing, and winning. They create units, stabilise your economy and unlock better and stronger weapons for your arsenal. While placing buildings anywhere may seem reasonable enough in itself, where they are placed can be the deciding factor in whether you win a game or lose a game. Simply placing a key structure in the wrong way, or slightly too far from its intended position can set back even the greatest of players in their plans.
Generally speaking, you want to keep your buildings spread out as much as possible, to avoid Area of Effect attacks like artillery and support powers. Especially as Steel Talons, placing your buildings with enough room to let your Titans walk between them can give you a huge advantage, as Titans can fire over buildings, while most other units can't. If you are being overrun by a Scorpion spammer, you can try to lure the forces to attack your Titans standing in your base, so you can use the buildings as cover, as well as trying to stomp on Scorpions if they go around the building.
Power Plants
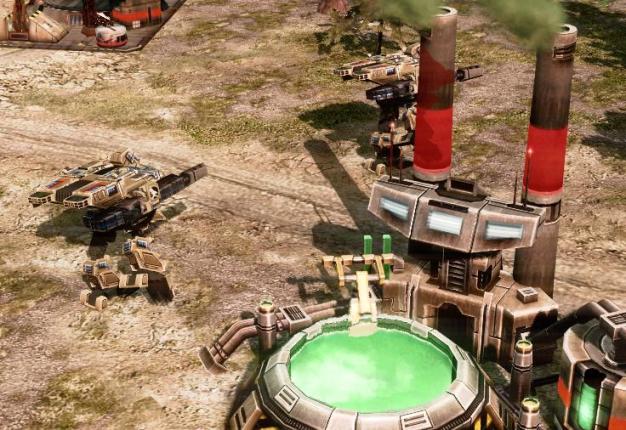
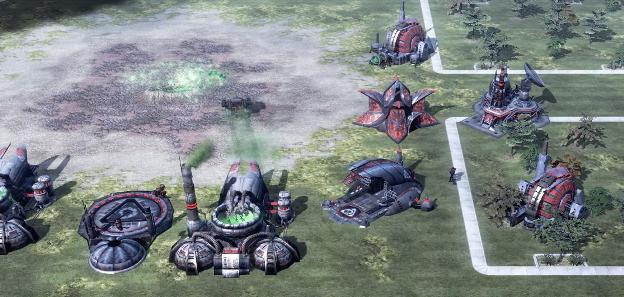
Often the first thing you will place in your base, the simple Power Plant is an often overlooked building. Building a Power Plant right next to your Refinery will limit the angle at which an enemy unit can fire on your docking harvesters. Additionally, they can also be placed in front of a unit/defensive building that can fire over the building itself, like a Titan or an Obelisk, to protect the unit/defensive building from enemy fire, while being able to deal out damage at the same time.
Refinery
These buildings are key to the survival of your base, as your harvesters will unload their tiberium at these buildings. Because you want your harvesters to be as efficient as possible, you should place them as close as possible to your tiberium field. It should be needless to say that your refinery's should be turned towards your tiberium field to ensure maximum efficiency. However, when playing against Nod, you should always be wary of the Catalyst Missile, a support power that fires a deadly catalyst missile at the selected location for 2,000 credits. This support power is very powerful, as it can completely destroy a refinery and any harvester unlucky to be caught in it's blast, and has a reasonably big radius. So be sure to leave some room in between your refinery's so they don't get obliterated by the same catalyst missile. Refinery's also provide ground-control, read more about this in the Tech-building section.
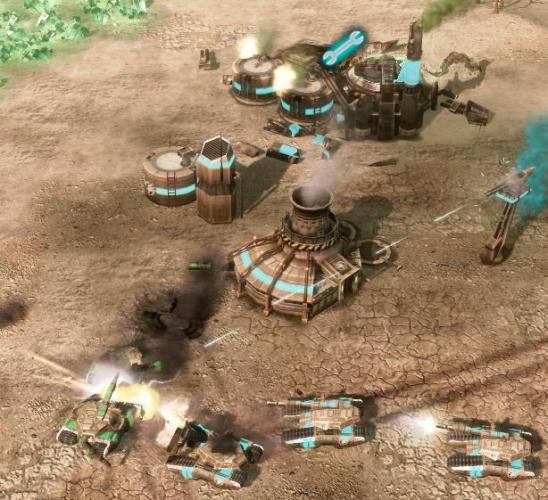
War Factory
The War Factory is an important building, as it produces all your vehicles that you will need to battle the opponent. What is also has, is three independent repair drones that will heal vehicles, and certain Scrin infantry like the Prodigy, with a considerable rate. Coupled with it's fairly high health, the player is left with two general choices of placement:
- In between your refinery's. This is the most common choice, and should be the general place as well. Facing your tiberium field, this provides a number of advantages:
- When being harassed, it is certainly easy to have your War Factory nearby, as your harvesters only have to drive a small (if any) distance for the repair drones to repair them. You can also move your harvesters around the War Factory. This forces your opponent to move his harassment units around the War Factory, buying you precious time to get your own units to attack the harassment units, and a few seconds extra to get your harvesters repaired.
- Because your War Factory is facing the tiberium field, it not only provides your harvesters with a minimum distance to travel for the tiberium after they come out of the War Factory, this also allows your attacking forces, when being harassed, to instantly start attacking the harassing forces. This could very well be the difference between saving that precious harvester, or losing it.
- The War Factory also provides the space needed needed to ensure that your Refinery's aren't blown up together by the Nod Catalyst Missile.
- On the outside of your base. This is only seen when the possibility might occur of base-fighting, which is basically when two opposing bases are being built so close together that retreating your units from the attacking line will only take a couple of seconds. This is mostly seen on maps like Tournament Tower, where both of the expansion fields are so close together that a couple of artillery units can shoot at the expansion of the opponent. This is also seen with a fast rush, where those few seconds of traveling might make the difference between a successful rush or a failed one.
Tech buildings
The only thing that is more important than building Tech Buildings, is keeping your Tech Buildings from destruction. Tech Buildings are key to success, as having to build a T1/T2 army to battle with a fully teched-up Tier 3 army will often prove to be very cost-inefficient. Because these buildings are very fragile, it is advised to keep them in the back of your base as much as possible. If you're playing as GDI or Nod, it is advisable to put a sonic fence around it, as this will double the buildings hitpoints, as well as making it untouchable by Engineers and Commando's (excluding the Mastermind and Prodigy Mind-Control).
Building Placement
A nice little trick to do with highly important structures, like Tech buildings, is to place them at the very edge of the map. If you place your building like this, then a support power, like the Tiberium Vapor Bomb, can't hit it square on, thus forcing your opponent to chose between either bombing it for half damage, or not bomb it at all.
Tech buildings also provide ground-control, which can be used to base-crawl. Base-crawling is, just for clarification, a technique that can be performed by using the ground control of a building to slowly 'crawl' your way to a certain key-point, like a tiberium field. This is mostly done on Tournament Dustbowl, where players crawl their way to the nearest tiberium field, using the ground-control that the tech-buildings provide. This is a bit more risky however, as it requires you to put your precious tech-buildings in the front of your base, where they can be picked off more easily by hit-and-run units like Stealth Tanks. The advantage of using this technique is that it enables you to keep your build-queue and your radar when expanding. When using this technique, it is highly advised that you put a Sonic Fence around all of your tech-buildings to ensure maximum safety.
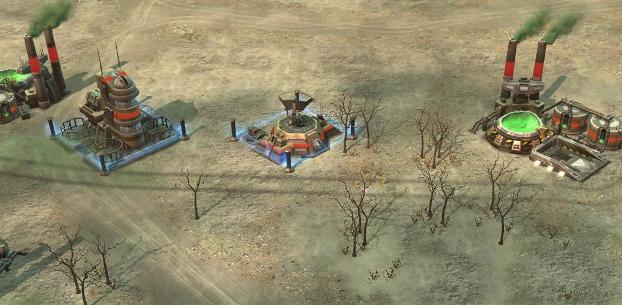
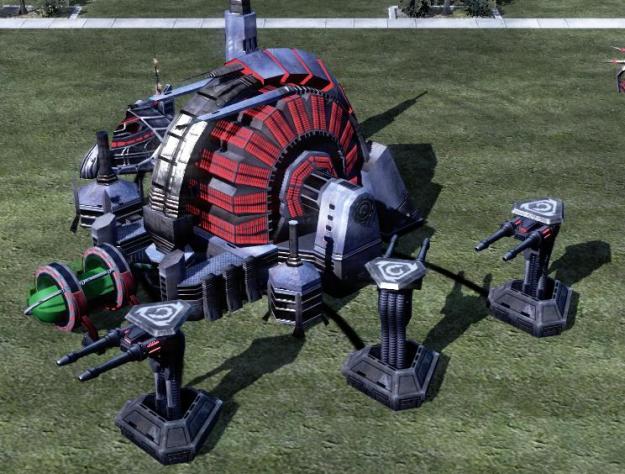
Your Tier 4 buildings (Space Command Uplink, Tiberium Chemical Plant or the Signal Transmitter, depending on the faction) should however
rarely be used for base-crawling. They have extremely low health and even putting a Sonic Fence around it will not completely secure it. It is advised that you should put your T4 structure in the back of your base. Have an appropriate defensive structure queued up for extra protection.
Silos
Silos are, ever since patch 1.01 dropped their price to a mere $100, the poor mans version of a wall. For a low price you can do a lot of fun and useful things with it. For example, place them in front of your Titan(s) when you're being attacked in your base, to give them some cover, as all the other MBT's can't shoot over buildings. This will force your opponent to either shoot the silo first, buying you a few seconds, or send his tanks around the silo, with the risk of being stomped on by the Titan. You can also protect more valuable units/buildings, like Avatars and Obelisks like this. Power Plants can be used the same way as well, and it is not uncommon that you see a defensive building with a Power Plant in front of it.
Shooting over buildings
All Tier 3 defensive structures can shoot over buildings, as well as the GDI Watchtower, the Nod Shredder Turret, and the Scrin Buzzer Hive.
For more information about building strategic silos check out
Tip of the Week #15 Thanks to a well placed Silo and a Power Plant did this player manage to save his Refinery.
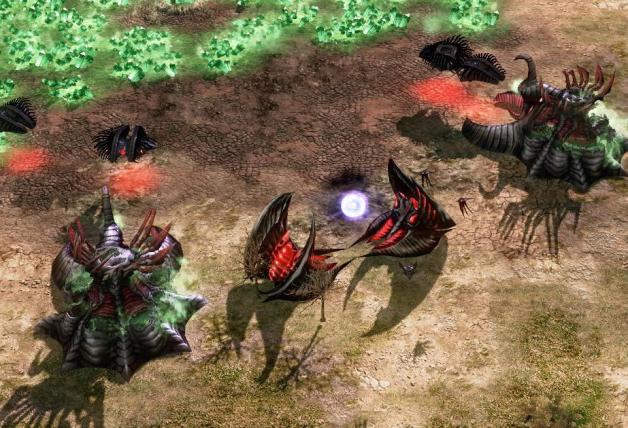
Buzzer Hive
There is something unique to be said about the Buzzer Hive. While it does not shoot anything, it instead summons Buzzers, which slice through enemy infantry. The fun thing about Buzzer Hives is that they can be placed directly on top of any infantry that is within your building radius, killing them instantly, much in the same way the Buzzer Swarm worked in older Tiberium Wars patches.
Shredder Turrets/Laser Turrets
The Shredder Turret and the Laser Turret, Nod's Tier 1 defensive structures, are one of a kind. A central hub is placed, after which the three attacking towers are placed within a certain radius of the hub. This can be used to your advantage, as the maximum space between the hub and the turrets is about the space required for a Power Plant. Placing a Power Plant in that space will protect your hub from destruction versus all infantry, as well as a huge array of vehicles. To find out more about how to position other base defenses check out
Tip of the Week #14.