Build Cost: 500Build time: 30Health: 350 (Originally 300)Melee Damage: 57 (Originally 60)Crush Damage: 50Speed: 90Dodge percent: 30Minimum speed to crush percent: 67%Crush deceleration percent: 20%Special ability: Gains +4% speed at level 4 and level 7. (1.09v2 = gained +7% speed in level 5) (Originally gained +7% in level 2)
 Gondor Knight
 Rohan Rohirrim
 Goblin Spider Rider
 Isengard Warg Rider
 From these statistics and player's experience, we can conclude that...
- Wargs
Thanks to its undebuffable Howl that also affects the crush damage, it makes them the best Cavalry against strong Infantry. Such as Dwarven Guardians, Lorien Warriors, Gondor Soldiers under Elven Wood leadership. Just food for them.
- Spider rider
It has insane meele damage and the highest HP, but take note that they are just 6 units in the horde. However, that is still a lot for a 600 cost unit. 1.09 has recently nerfed them a lot against Pikemen, but using properly bats, Taint Land and defensive stance they are still able to crush Pikemen.
- Rohirrim
Has low HP despite being the most expensive Cavalry horde. But their speed and highest melee damage makes them an excellent rush unit and army killers, if properly microed to use the meleeing lances.
- Knights
An interesting unit. Very low melee damage (unless they level up) in exchange for health points that are comparable to Spider Riders (which are 6 units, Knights are 10 guys. Thus Knight horde HP are the highest). What does such high health points imply? The ability to crush Pikemen. Use Elven Wood and defensive stance and the results will be surprising.
- And....
 Lancers
, the main character of this Tip of the Week
1.09 has increased its health in exchange for a bunch of damage points, and also moved the speed bonus to level 5 instead of 2. They are popular now, but does everyone know how to use them? Making Lancers to crush Goblins is not the idea. Crush Pikemen? Definitely not. In fact, it is not recommended to crush any army by the front unless there's armor leadership support, which elves precisely lack in early game. Should Lancers be mainly purchased to rush farms? Not really, perhaps with mounted Arwen.
Tip of the week: Cavalry and Archers, a better combo than Pikemen-Archers
As the majority of the players should know, our beloved BFME2's path finding system counts with a block system.
The following are the axioms of the block system, the undoubtable facts that no one seems to be properly taking advantage of.
-Infantry block Infantry.
-Cavalry block Cavalry.From here we find variations like Cavalry blocking Infantry, and sometimes even blocking Heroes with builders. That requires its own dedicated topic however. For now, let's focus on something simple.
¿ 
+
 ?
?We know very well that micromanaging Pikemen is kind of hard to do thanks to our buggy path finding system when enemy swords (or Cavalry) are near.
Besides, you can have your Pikemen properly placed and few Archers shooting in such a nice formation, but that only leads to your own slaughter. Such Infantry position is static, you can't be flexible with it. And considering that narrow formations are easier to surround, imagine you are in enemy territory without backup. You are done, you might not even be able to escape. You would approach literally nothing, mithlond take two hours to take down a farm. Also, even against Cavalry, such formation is not that good unless there's a hero support. Pikes cannot defend two sides at once, Cavalry crushing from two sides will mean dead Archers and mithlonds biting the dust. Without even taking into account how mithlond health points are the lowest of all Pikemen on this game.
So, if you feel like rushing with Archers... let's see what can we do with only Cavalry and Archers.
¡ +
!
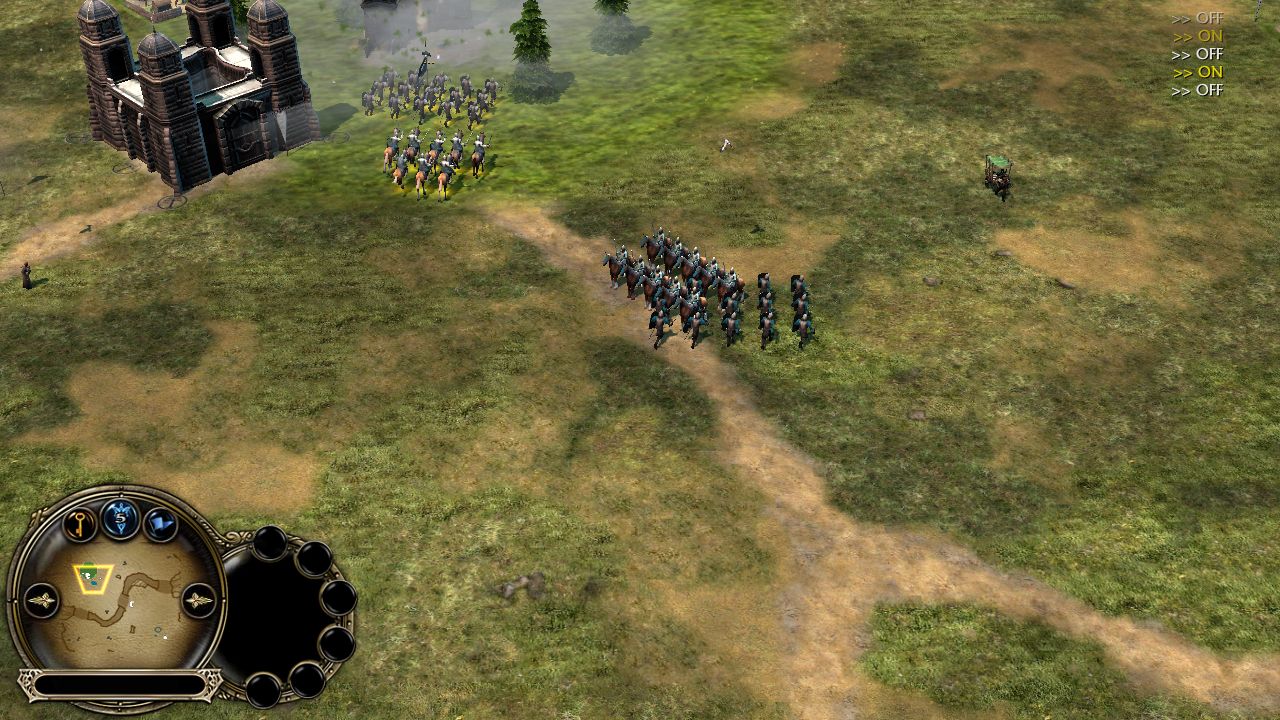
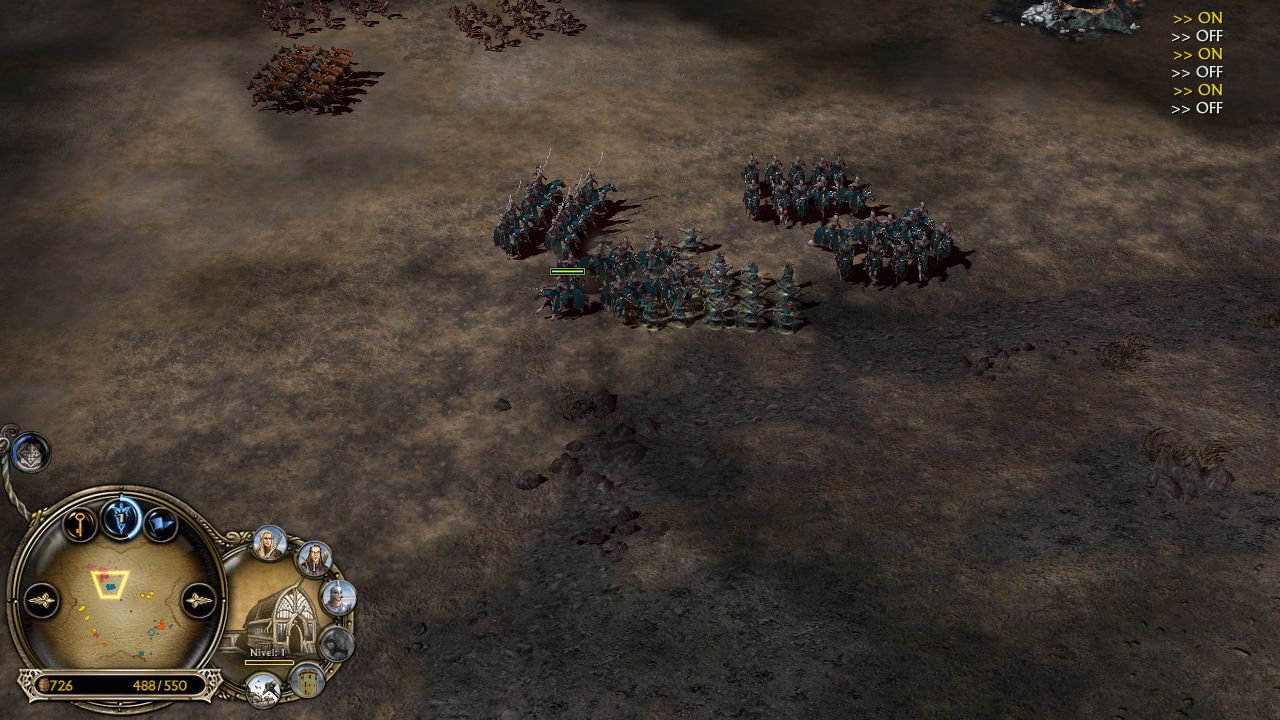
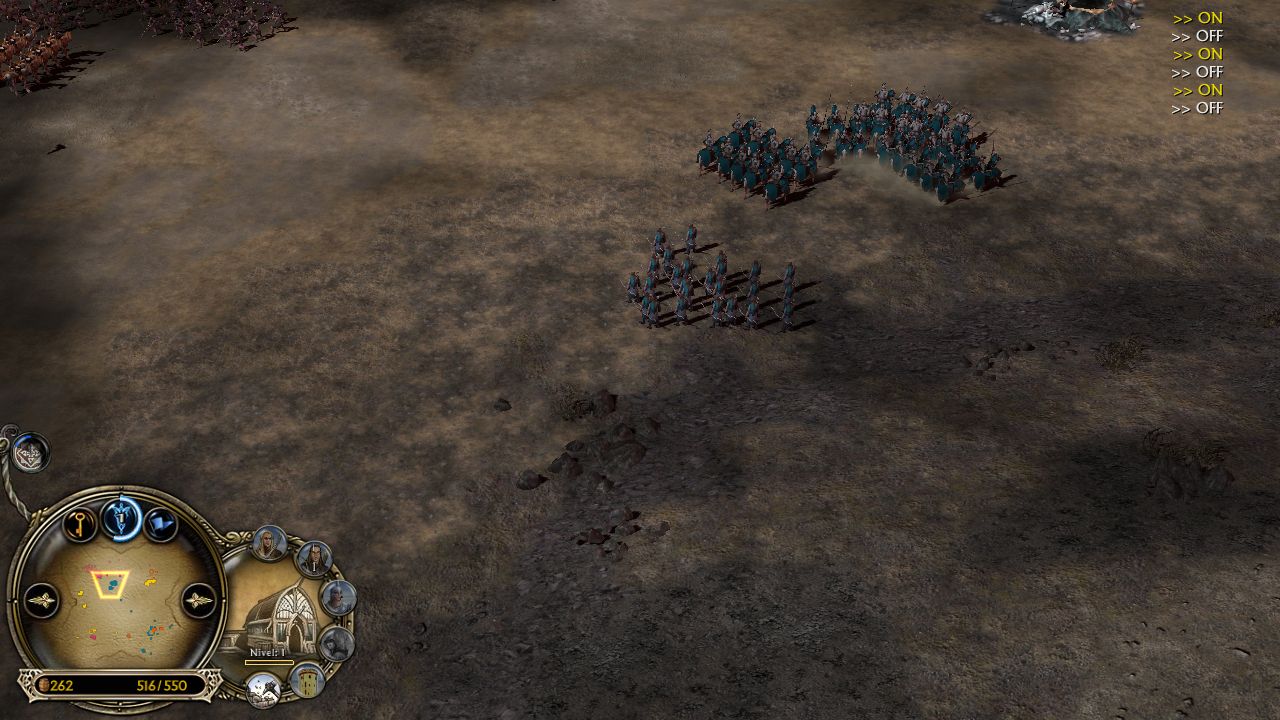
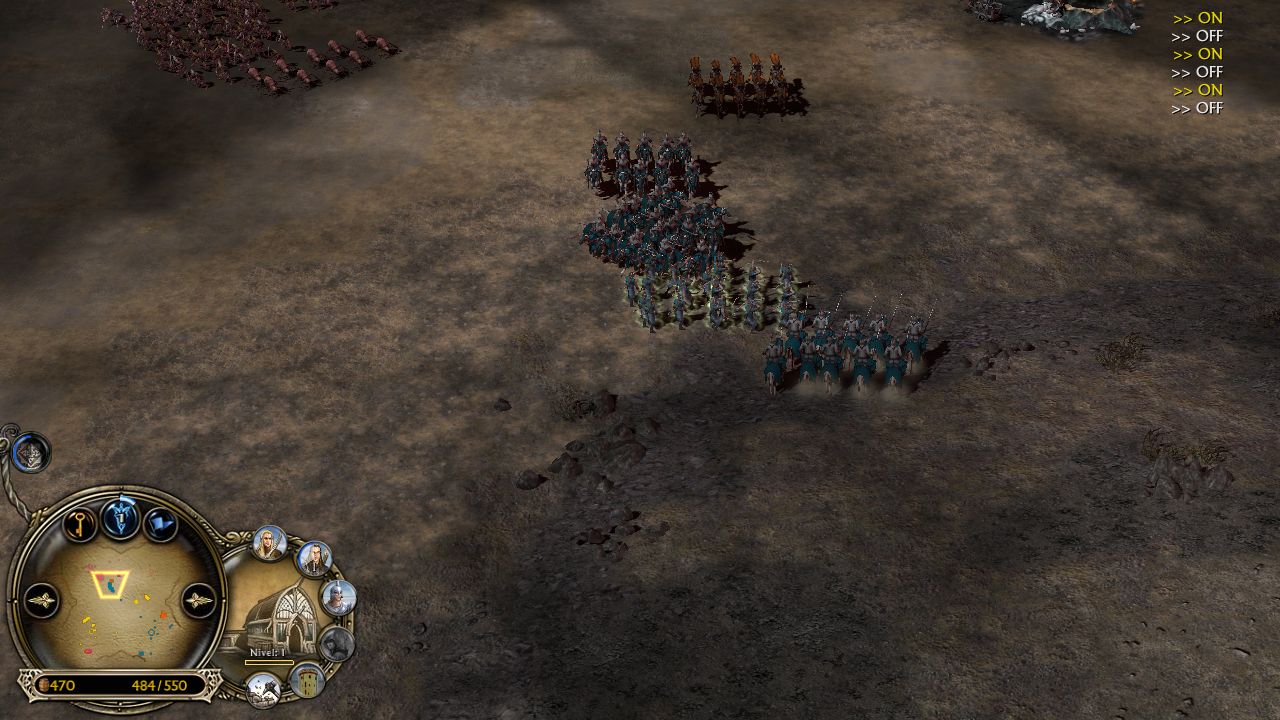
We slowly advance to wherever we like, Cavalry moving ahead of the Archers. If an enemy pop ups, we send back our Lancers "inside" our Archer formation then
-this is very important- press the hotkey
*G* (Hold the ground stance) or
*S*.
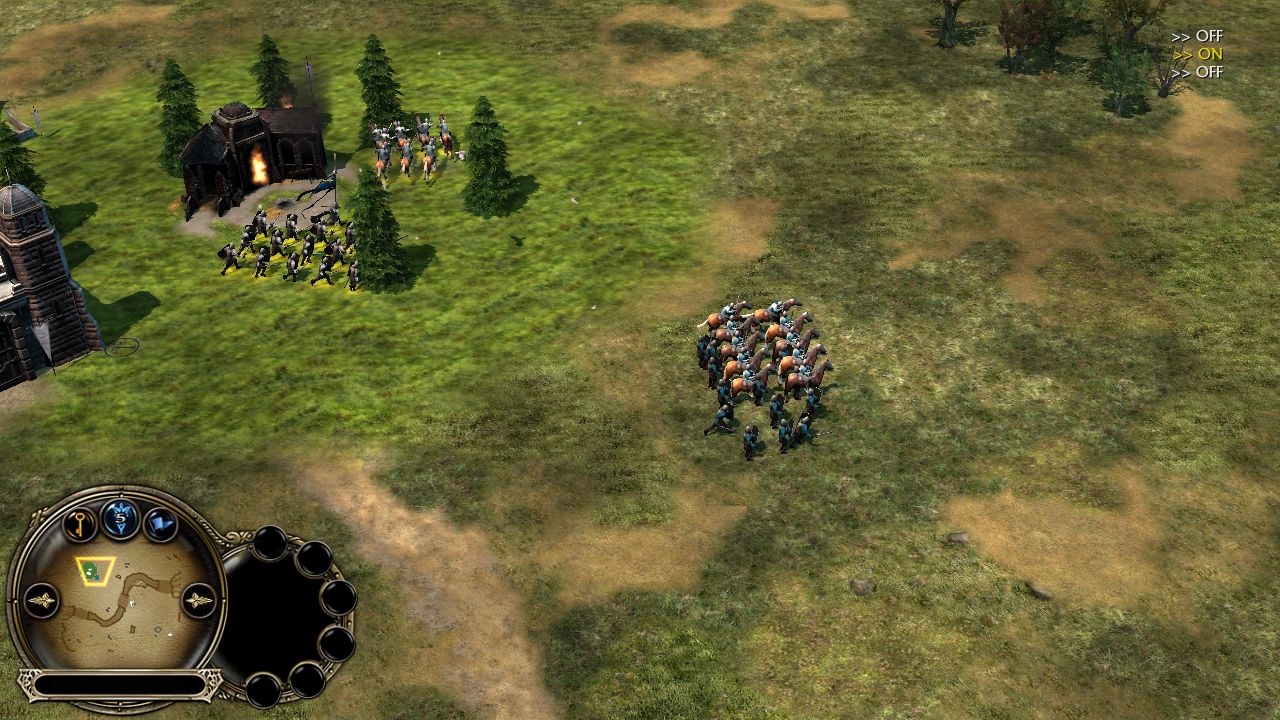
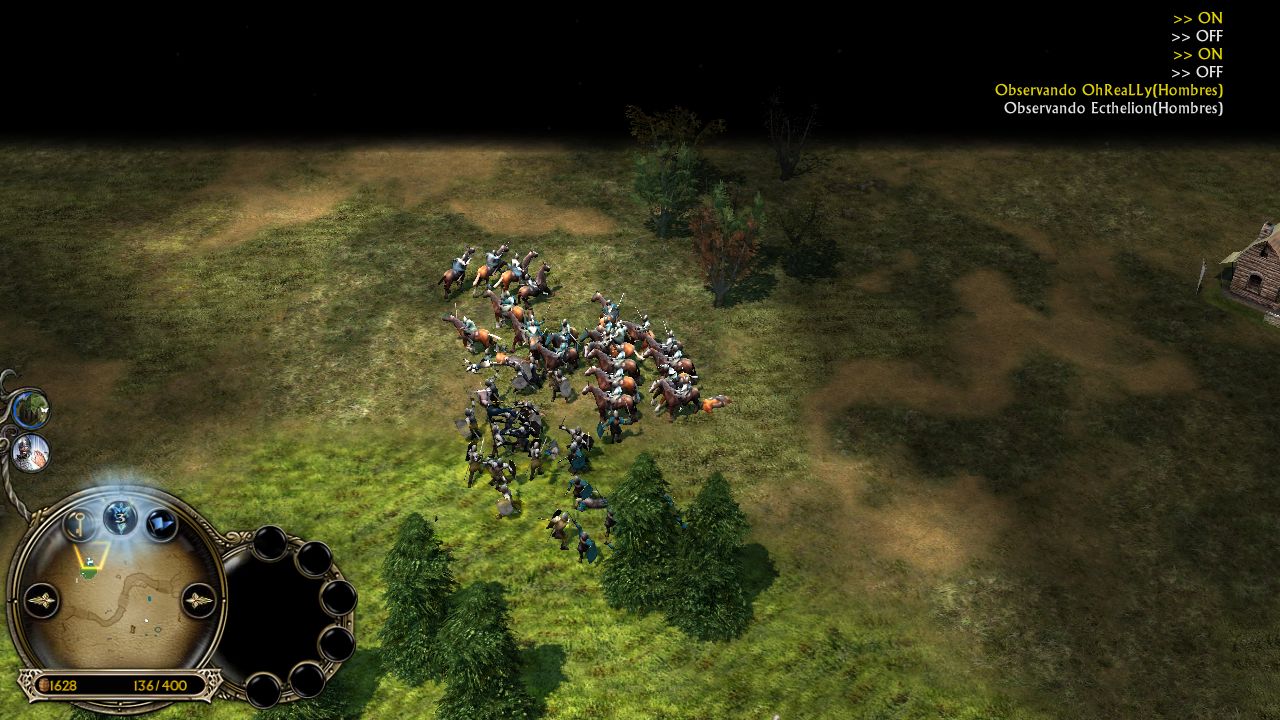
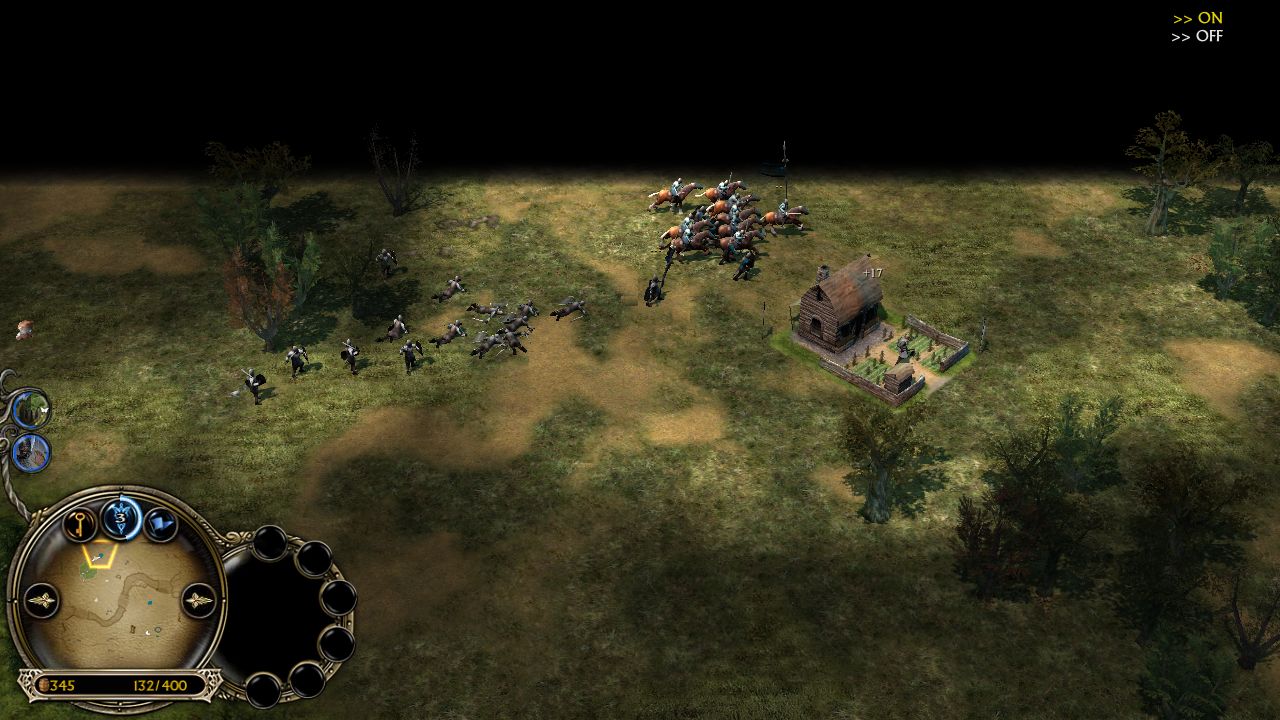
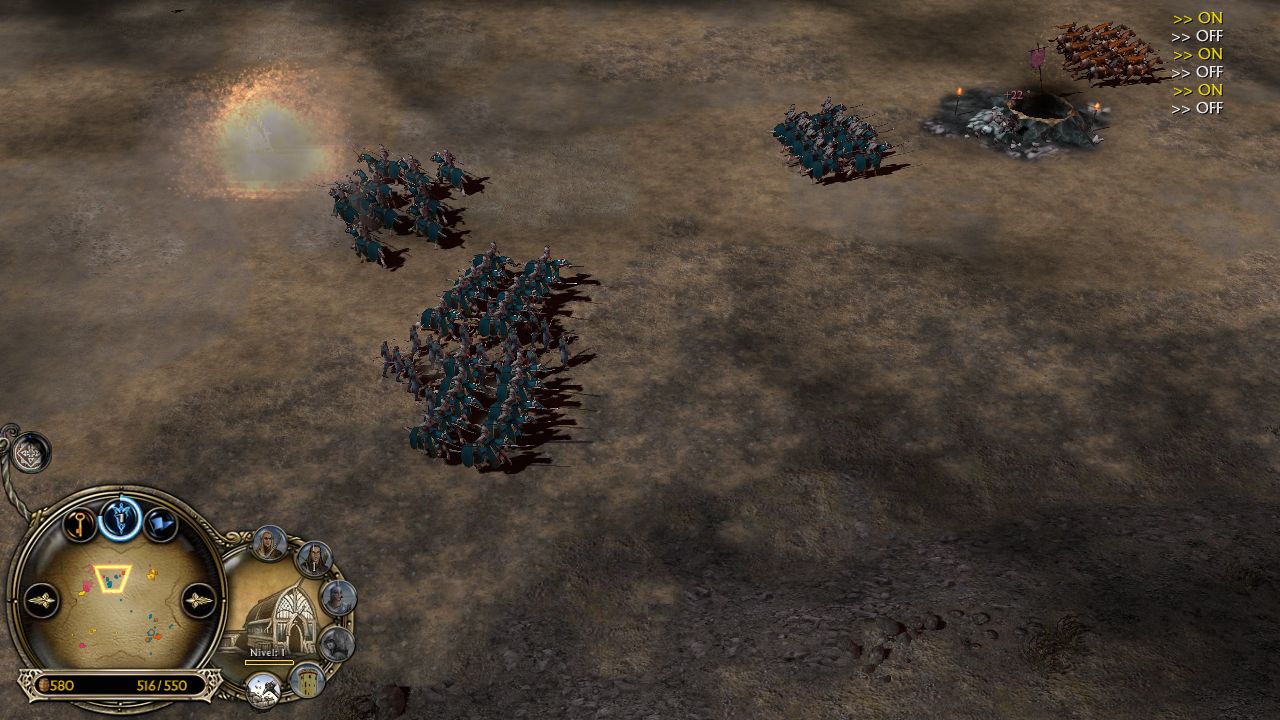
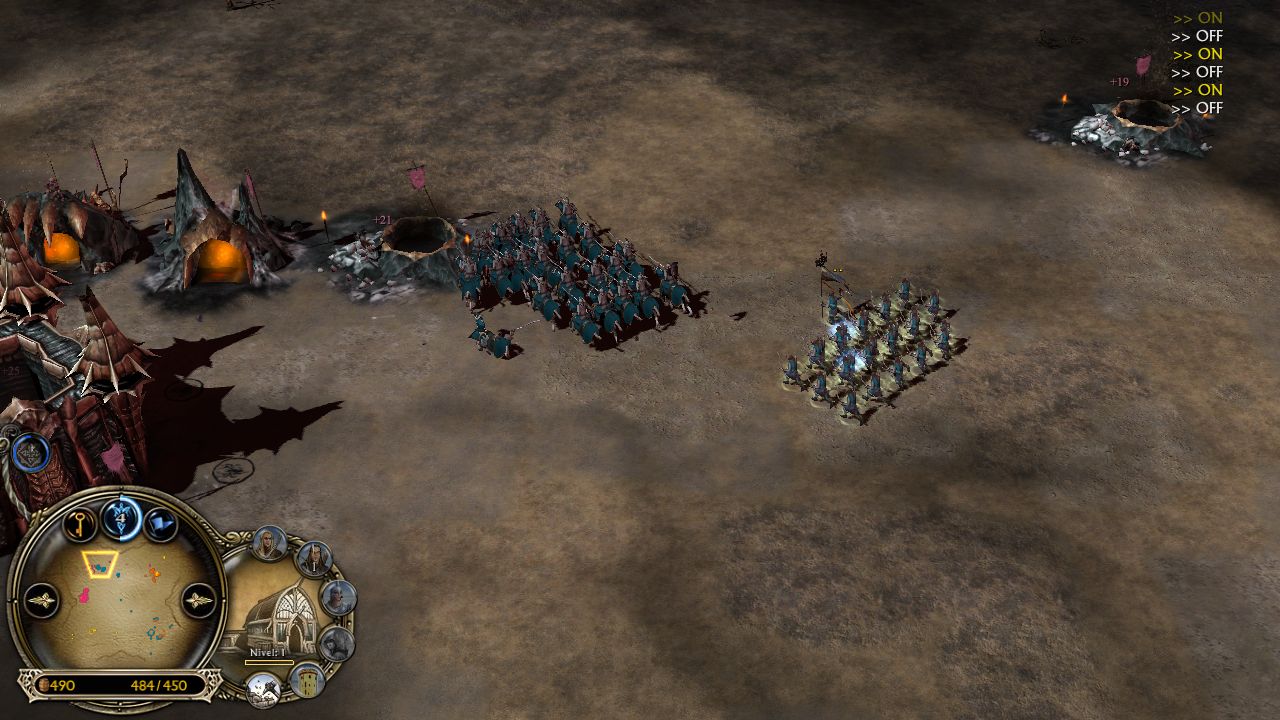
Rohirrims are trying to crush my Archers or at least melee my Lancers. They can't. The more the orange player tries, the more damage he receives by the Archers.
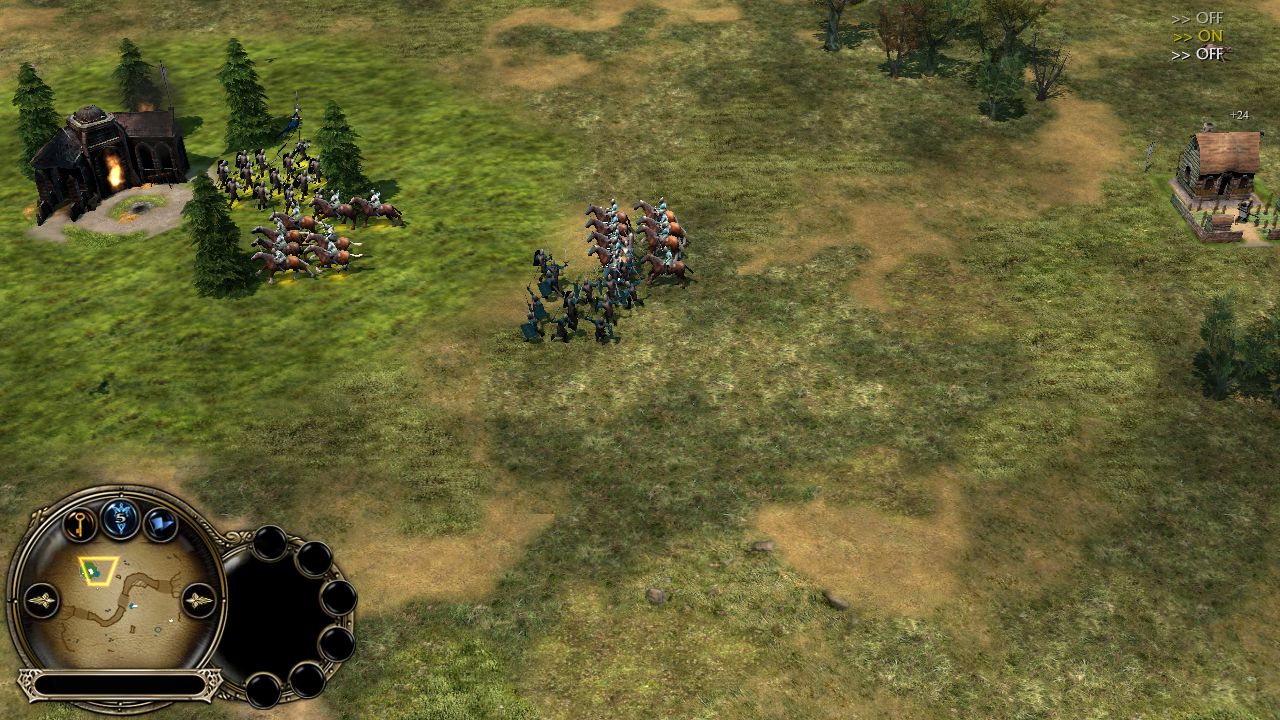
After a bunch of arrows, the Rohirrims decide to trek back. The path to the Goblin base has been granted and the initiative granted to the Elf player.
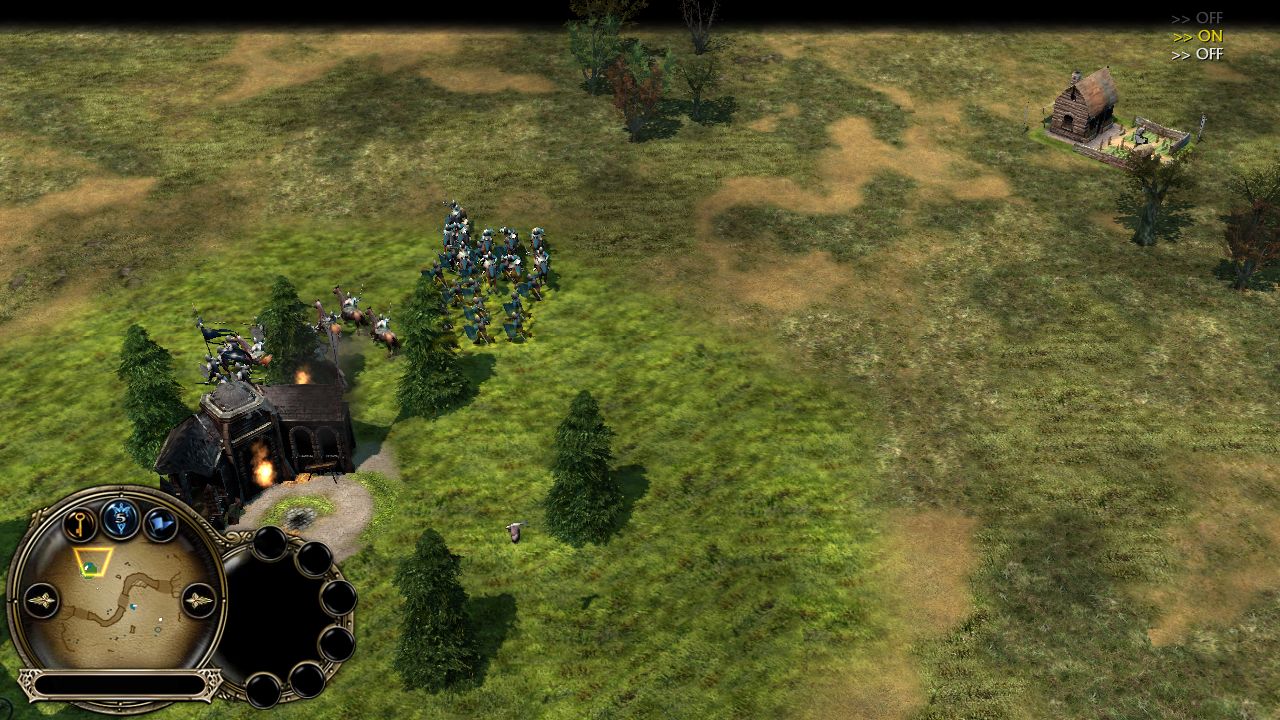
This obviously requires more than 2 big Cavalry Hordes to achieve something. One bunch are meant to cover the Archer, the other bunch to actually attack something.
Replay
Conclusion Everyone knows that the more units are mixed, the better. Pikemen rush all over the map can be useless because farms are stronger to "specialist" damage (pike damage type). Swordmen rush against experienced players can be useless in middle-late game due to it's vulnerability to structural arrows and Cavalry crush. But then, Pikemen+Swordmen is such a strong combo that it usually means your enemy will have to use special powers to defeat it. Like Tom Bombadil, or Boromir Horn of Gondor.
Based on that concept, this tip of the week promotes the combination of not only footmen units, but to also include Cavalry inside the bulk of the army.
We know that due to the value of horses, Cavalry should not be summoned only to attack alone, defend alone, or even flank and clash into armies. However likewise there will be flank system tips and Cavalry will be equally significant. But we should not value Cavalry according to their statistics of pierce resistance, it's crush deceleration, or capacity of destroying farms. Cavalry Hordes should be valued by the very "Equus ferus caballus" that Rohan worships and... by their role inside the webs of the glitchy path finding system of Bfme2. Here, Cavalry acts like a mobile shield bubble against the Cavalry of your enemy, and its Infantry.
In this tip, it can be seen how unit combination can not only counter enemy units like Stronger Cavalry, but also reassign a role to uncommon units from late-game, like Swordmen for example. This simple thing will also FORCE your enemy to take a significant part of his attention through heroes or powers into... what, 2 or 5 un-upgraded little Hordes? Try this "Cavalry pathfinding shield" and bring us feedback! Feel free to make the sickest combinations you imagine and prove that "Apes alone... weak. Apes together... strong!"
Discuss in the Strategies section!


 +
+